I know what you’re thinking. Soup? In the summer? Yes! I was super excited to see fresh sweet corn from the local farm make its way into my beloved Dorothy Lane Market this week.
Fresh corn on the cob in the summer time conjures up memories of carefree summers on the lake and I can be brought back by eating it, even if I’m not in Northern Michigan and nowhere near a lake. Despite my love of corn on the cob, I thought it would be interesting to find some different ways to use the fresh corn. (We’ll still be eating plenty of it on the cob, make no mistake about that.)
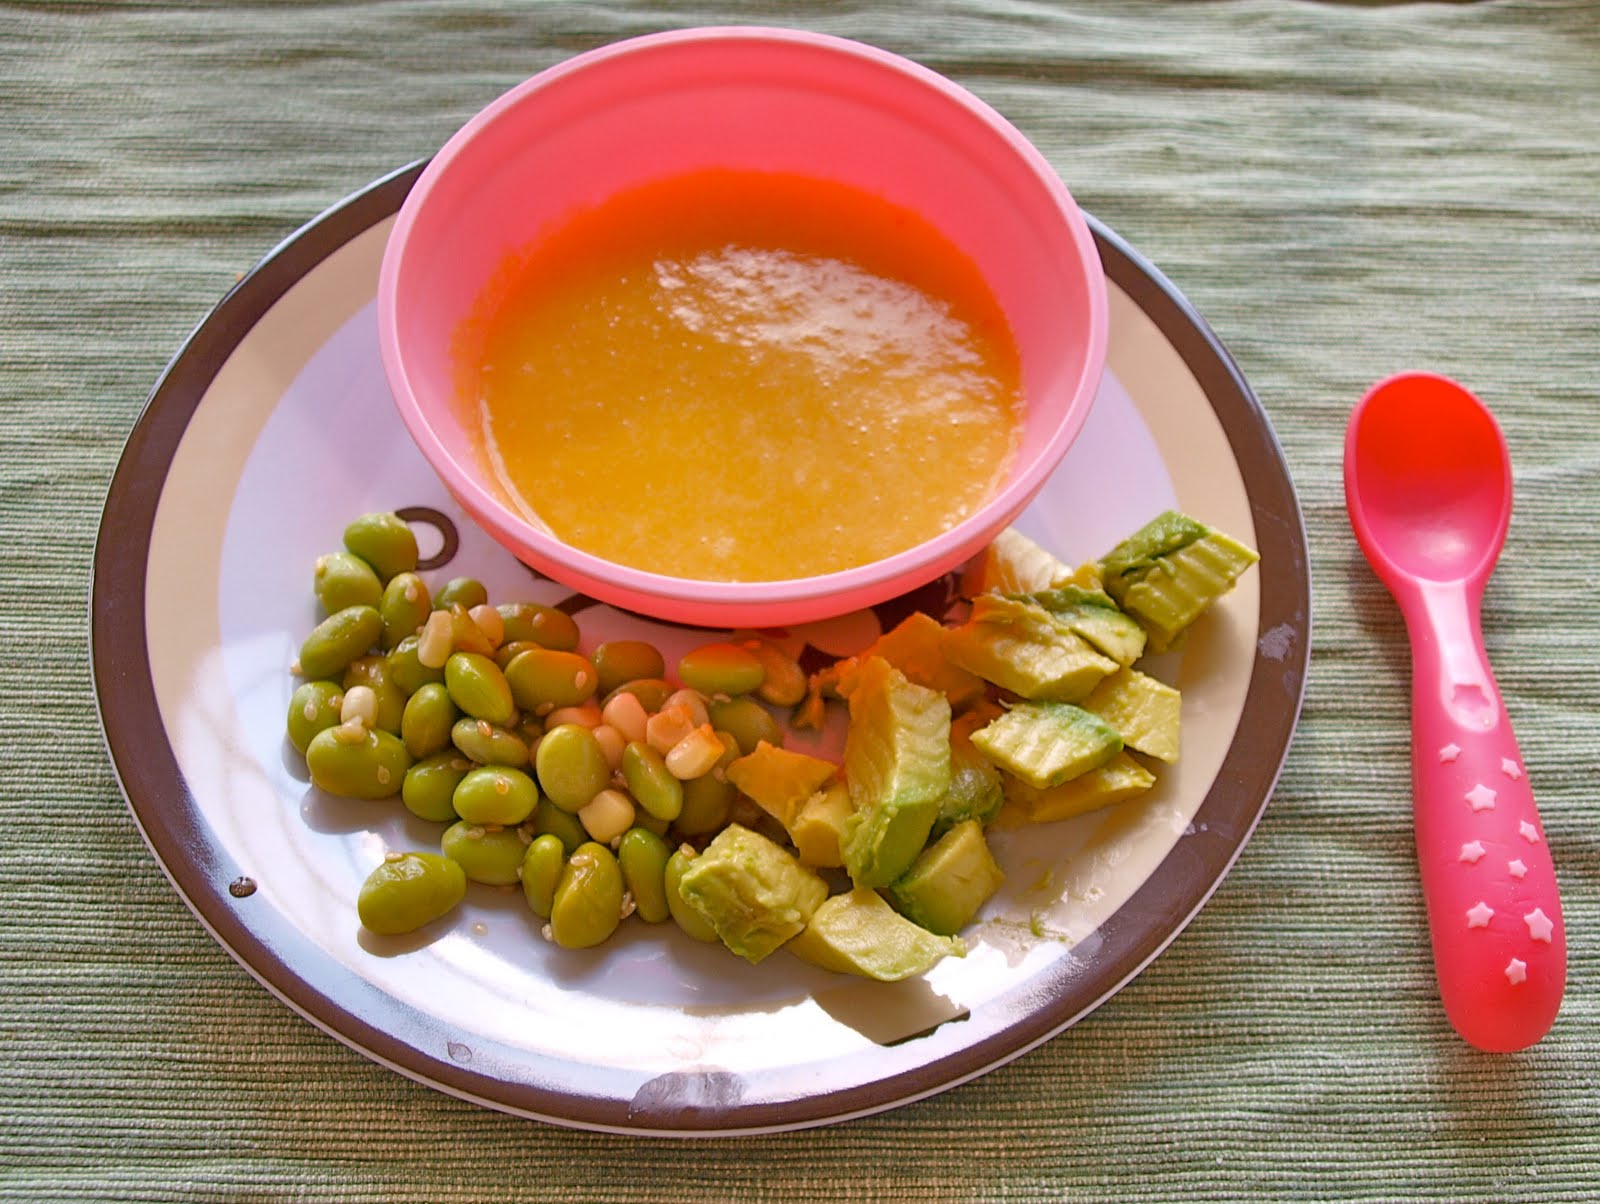
My search brought me to these two recipes, both from Veganomicon. Yep, this is a completely vegan meal. A vegan meal that got no complaints from my meat-eating husband. (Those are hard to come by) Let me tell you, the salad was good. Definitely worth trying. But the soup? The soup was to. die. for. I love, love, LOVED this soup. So did Tim.
Meghan thought it was just okay, but for her I think it was more of a frustration-with-trying-to-get-this-runny-soup-into-my-mouth issue. She’s only 21 months and hasn’t completely mastered the art of eating soupy things. Please try this soup. You will be happy you did.

Save This Recipe!
Enter your email and I'll send it straight to your inbox. Plus you'll get new recipes from me every week!
By submitting this form, you consent to receive emails from Happy Healthy Mama.
Roasted Yellow Pepper and Corn Bisque
- Total Time: 85 minutes
- Yield: 4 servings 1x
Description
A delicious and colorful bisque
Ingredients
- 4 yellow bell peppers
- 3 cups fresh corn, cut from the cobs (from 3-4 cobs, depending on the size)
- 1 tablespoon coconut oil
- 1 medium-size Vidalia onion, diced
- 3 cloves garlic
- 2 hot red chiles, seeded and sliced thinly
- 1 yellow summer squash, cut in half lengthwise and sliced thinly (about 3 cups)
- 3-4 cups vegetable broth (I used 4)
- 1 1/2 teaspoons salt
- 1 (14 ounce) can coconut milk (lite is fine; I used regular. I also had a 13.5 ounce can instead of 14)
- 1 tablespoon pure maple syrup
- Juice of one lime
- good pinch nutmeg
Instructions
- Roast the peppers. I did this during Meghan’s nap time to cut down on the dinner-time crunch. It can be done up to a day ahead. Here’s how you do it:
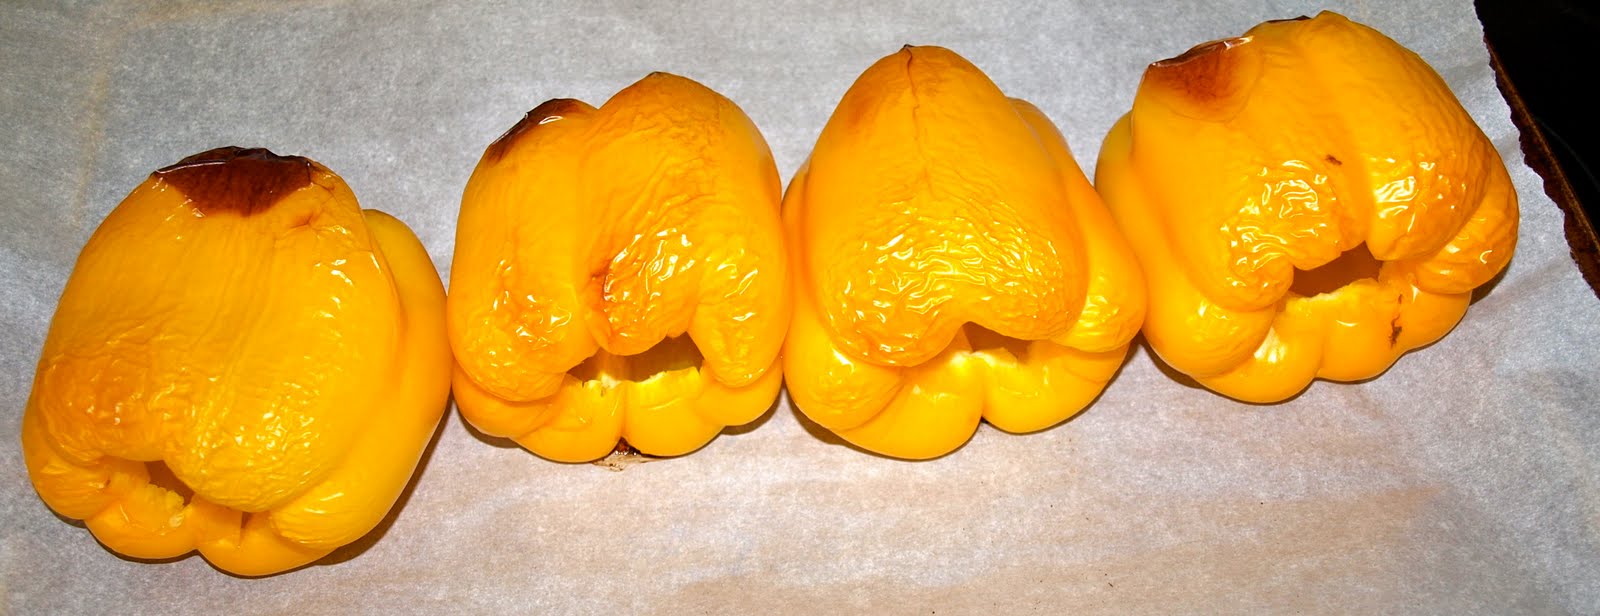
Pre-heat the oven to 375 degrees. Cut the stems off and pull out the seeds. Place them on a rimmed baking sheet, covered with parchment paper if you prefer. (Makes for easier clean up) Bake for 40 minutes, turning them once. The peppers should be very soft and collapsed*. Carefully place them in a plastic bag and let them sit for about 30 minutes. This will allow them to steam and make peeling away the skin easy. Remove them from the bag, peel, and roughly chop. If you aren’t making the rest of the recipe now, put them in an air-tight container and refrigerate until ready to use.
*I didn’t let mine roast long enough AND I forgot to turn them during the cooking time. I’ve roasted peppers before and it’s never been difficult to remove the skins, but this time it was. Make sure they are ready and you remember to turn them! Here are my before and after pics, but remember, they weren’t actually ready. 🙂 
- And here they are in the bag:
-
- Preheat a soup pot over medium-high heat. Add the coconut oil and allow it to melt. (Or if you are using olive oil, as I’m sure some of you are, let it heat a bit) Saute the onion until it is soft and translucent, about 5-7 minutes. Add your garlic and chiles and saute about another minute. Then add your corn and squash. Keep sauteing, about 5 more minutes, until you see the moisture coming from the squash
- Add the roasted peppers, vegetable broth, and salt. Cover the pot and bring the mixture to a boil. Then, lower the heat and simmer, covered, for another 20 minutes.
- Add the coconut milk and puree the soup. It is handy-dandy if you have an immersion blender. I do, however, when it was time for this step I discovered the battery needed charging. Booo! Instead, I had to transfer to the big blender and puree in batches. Oh, well.
- Allow the soup to heat through again. Add the lime juice, maple syrup, and nutmeg, stir, and it’s ready to serve!


Notes
adapted from Veganomicon
- Prep Time: 15 minutes
- Cook Time: 70 minutes
- Category: Soup
- Cuisine: American
Nutrition
- Serving Size: 1 serving
- Calories: 352
- Sugar: 19.7g
- Sodium: 877mg
- Fat: 18g
- Carbohydrates: 46g
- Protein: 8.3g

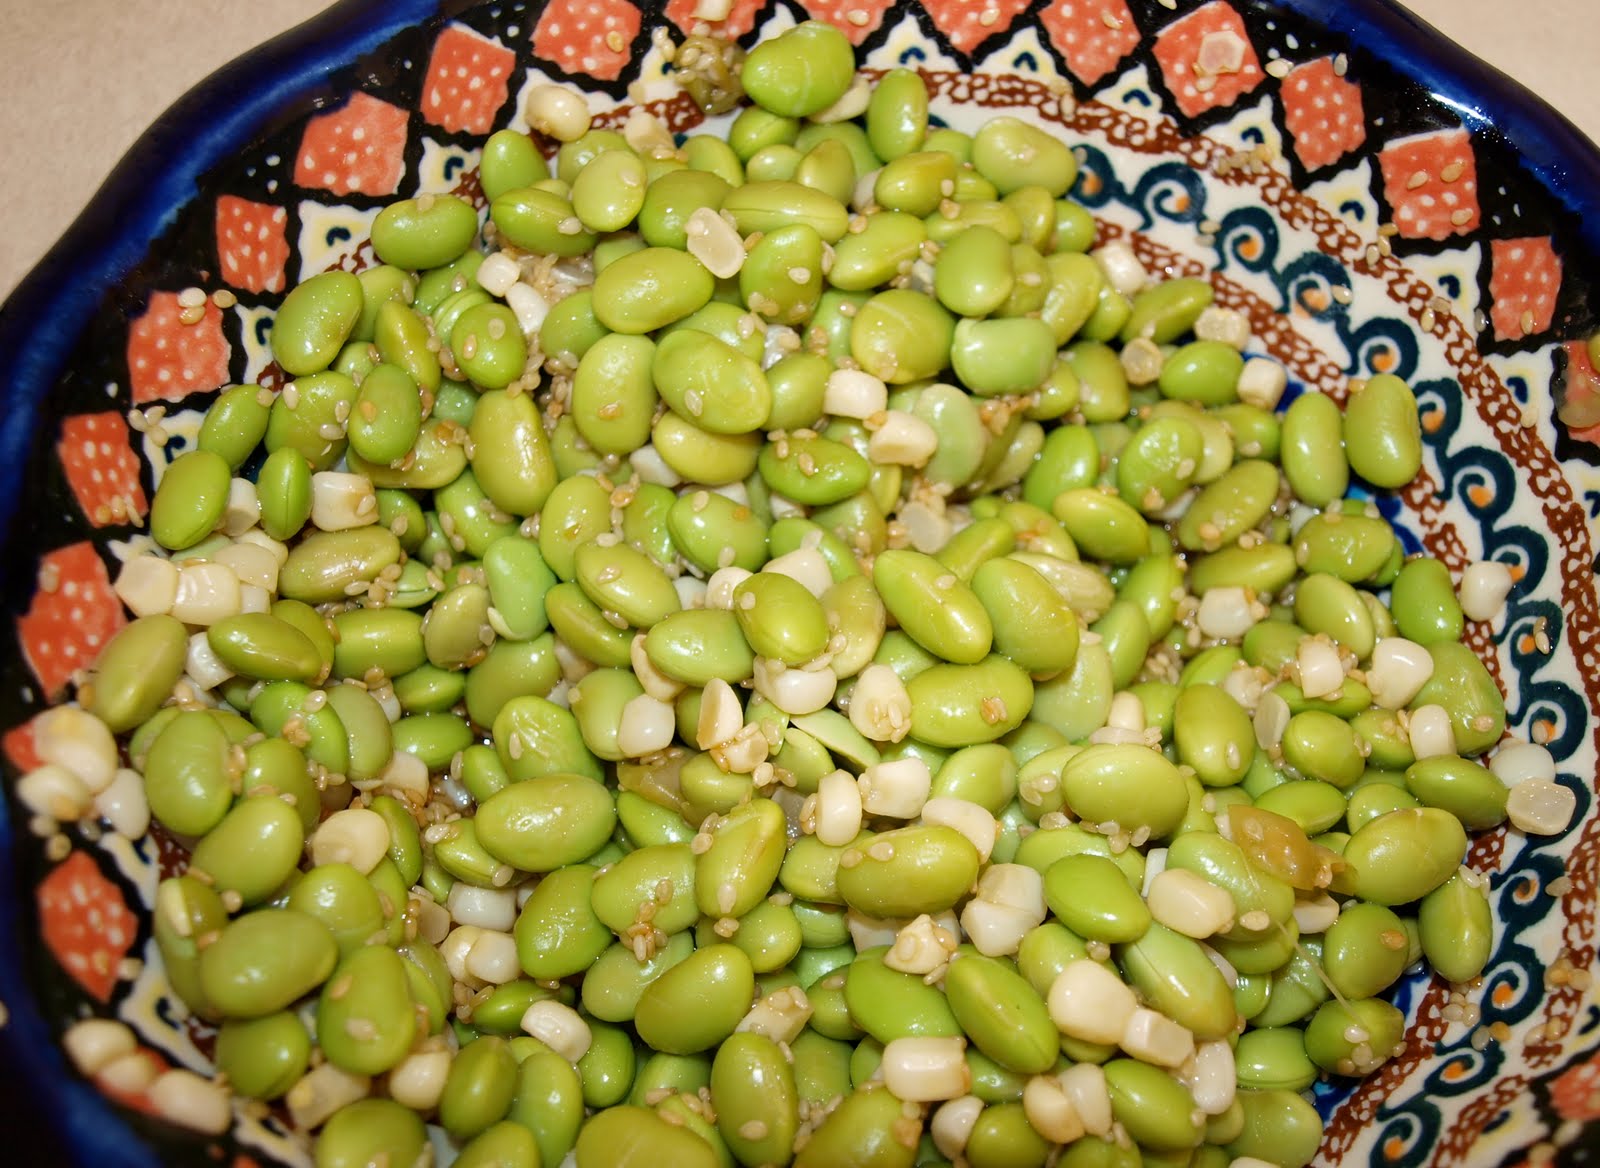
Corn and Edamame-Sesame Salad
- Total Time: 15 minutes
- Yield: 2 servings 1x
Description
An easy and delicious salad
Ingredients
- 2 tablespoons sesame oil
- 1 tablespoon rice vinegar
- 2 teaspoon low-sodium tamari or soy sauce
- 2 cups frozen, shelled edamame
- 1 cup fresh corn, cut from the cob
- 2 tablespoons toasted sesame seeds
Instructions
- Bring a pot of water to a boil. While you are waiting for the water to boil, whisk together the sesame oil, rice vinegar, and tamari in a medium bowl and set aside.
- Boil the edamame for 3 minutes, then add the corn and boil for another 2 minutes. Drain into a colander and run under cold water. When it is cool enough to touch, add the edamame and corn to the dressing and toss to combine. Add the toasted sesame seeds and toss again. (To toast sesame seeds, place in a small pan over medium heat. Gently toss in the pan until they turn golden brown. Watch carefully as they can go from white to burnt quickly!)
Notes
adapted from Veganomicon
- Prep Time: 5 minutes
- Cook Time: 10 minutes
- Category: Salad
- Cuisine: American
Nutrition
- Serving Size: 1 serving
- Calories: 458
- Sugar: 8.5g
- Sodium: 341mg
- Fat: 25g
- Carbohydrates: 38g
- Protein: 20.5g