Life is never dull with a 2 year old around. They have a seemingly endless supply of energy. They love to get involved with whatever their parents are doing.
In this case, they like to get involved in whatever Mommy is doing. And Mommy was trying to take a few photos of the energy balls for her blog. The operative word being trying. By the end of the shoot, I needed a few energy balls.
Have I mentioned that I’m pretty clueless when it comes to photography? I want to learn more, but there is so much to learn with a limited amount of time to devote to the skill. Lighting drives me crazy. All the experts say that the biggest no-no is using a flash with food. But there’s never enough light in my house to not use a flash. So I move Meghan’s Ikea table every which way trying to find a spot where there’s enough light, but not a million crazy shadows. And I have no idea what I’m doing.
Meghan was my big helper today.
Her first idea was to have her plastic eggplant toy in the shot. Yes, she’s just out of bed, in her pajamas in these pics.
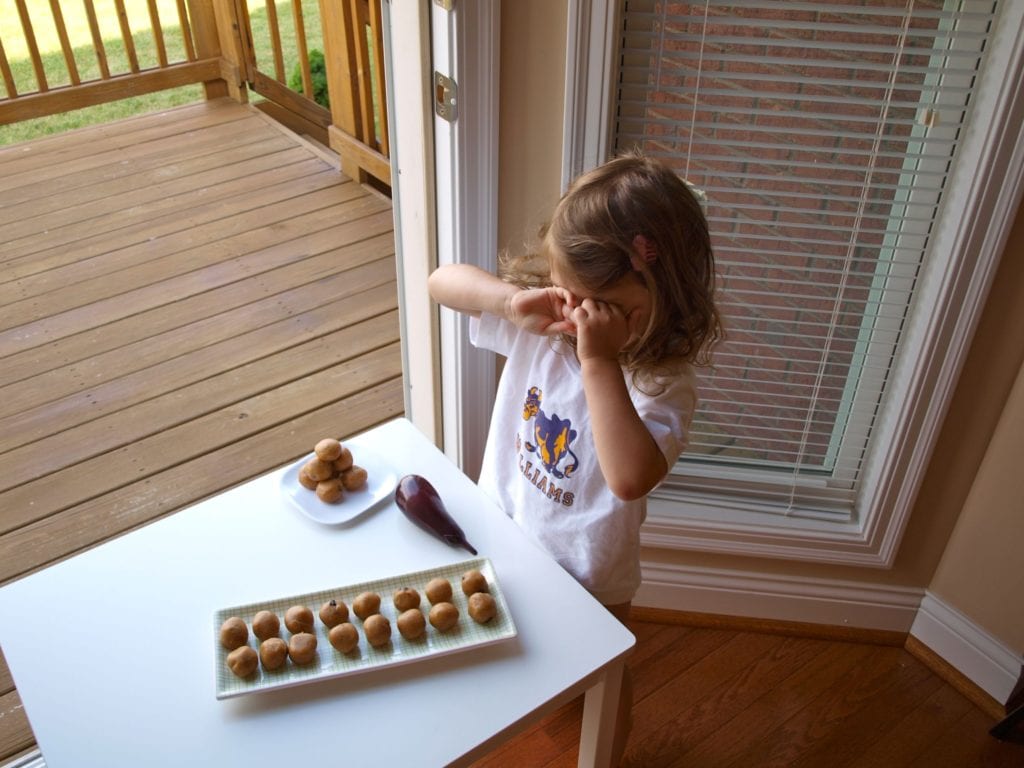 Then she thought she should be the star of the show.
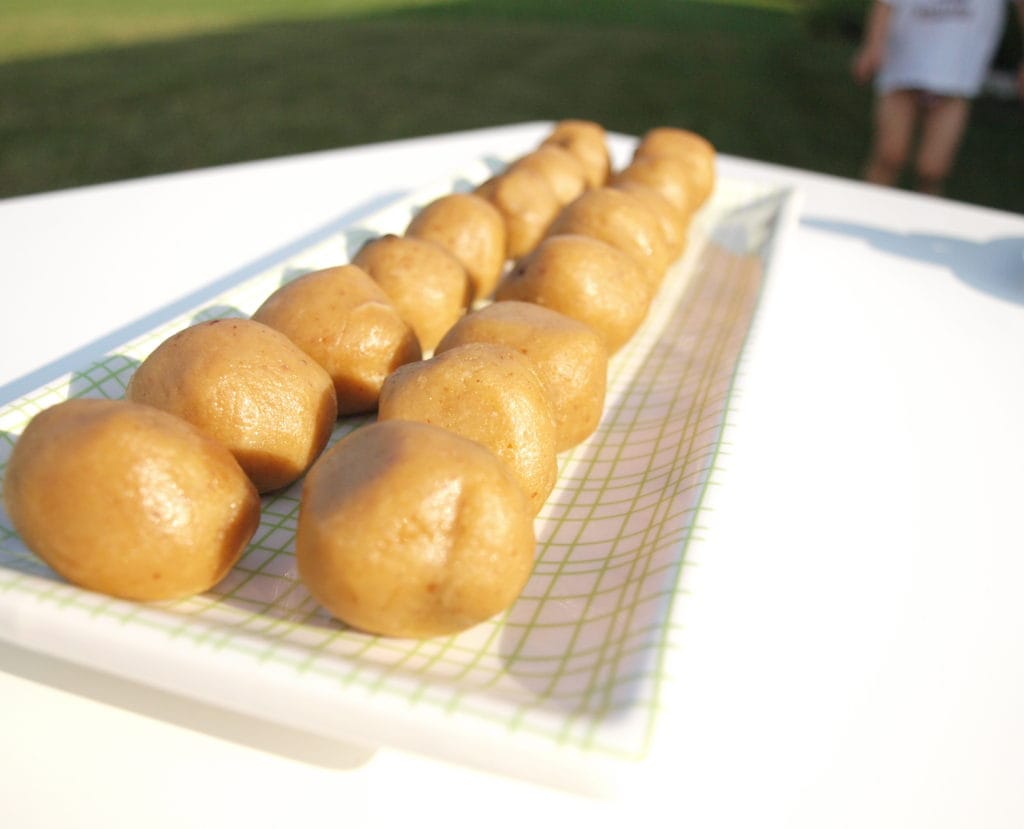
 But I was the director, and I put my foot down. We moved the shoot outside for more light. Meghan still thought she should be included in the pictures.
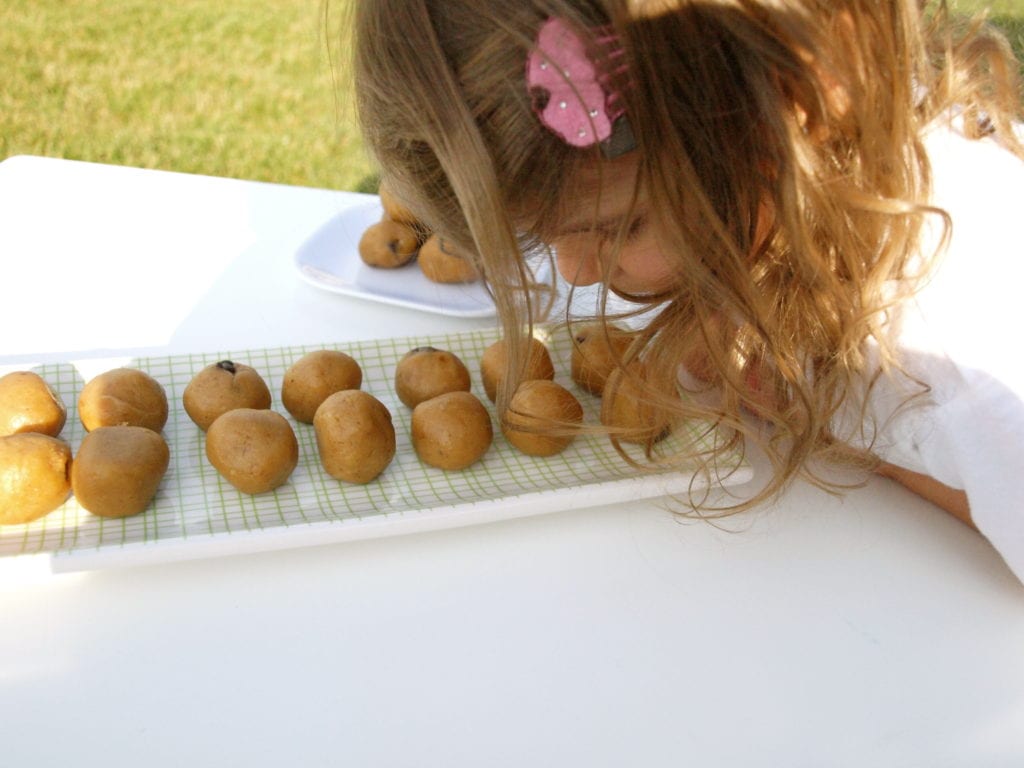 In an attempt to get a few shots without her, I told her to run to the tree and back. But she still made it into the shots.
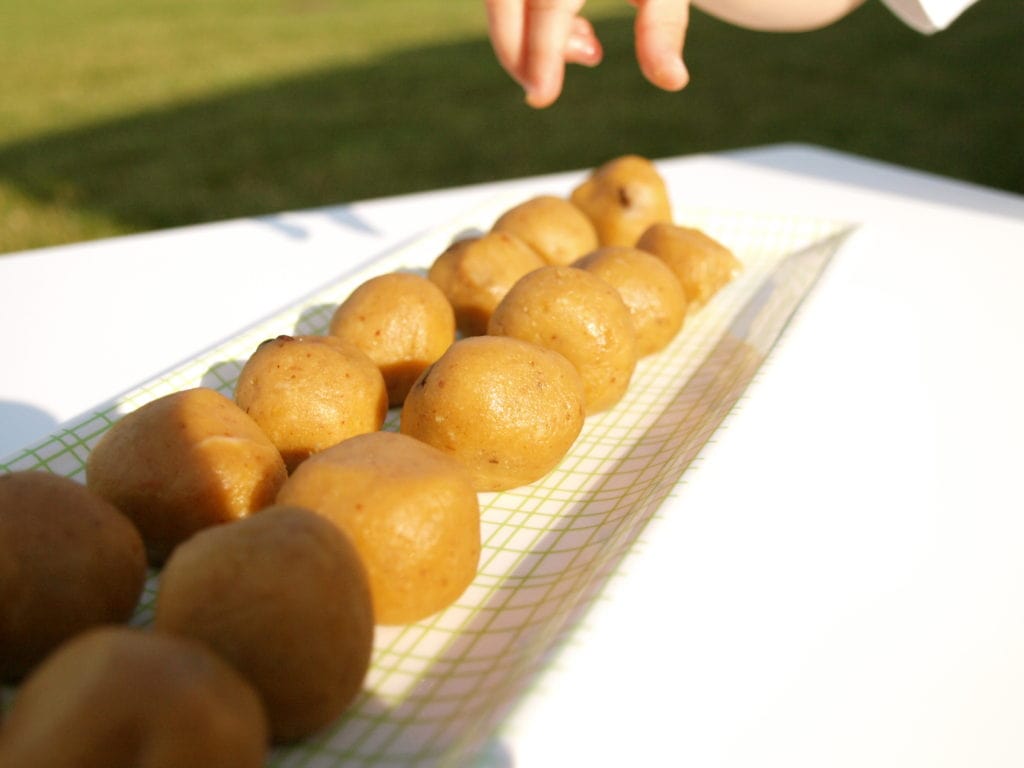 And I knew this shoot was almost over.
 Mmmmm. One is never enough with these tasty bites. {I couldn’t bring myself to call them balls right there.}
So I hope you won’t judge my photographs too harshly. Though I’m trying to learn as fast as I can, I have an even faster two year old to keep up with.
Despite the photos, these High Protein Energy Balls are worth trying. They make a delicious snack that stays with you and gives you the energy you need to keep up with a little one, or whatever it is in your life that requires stamina.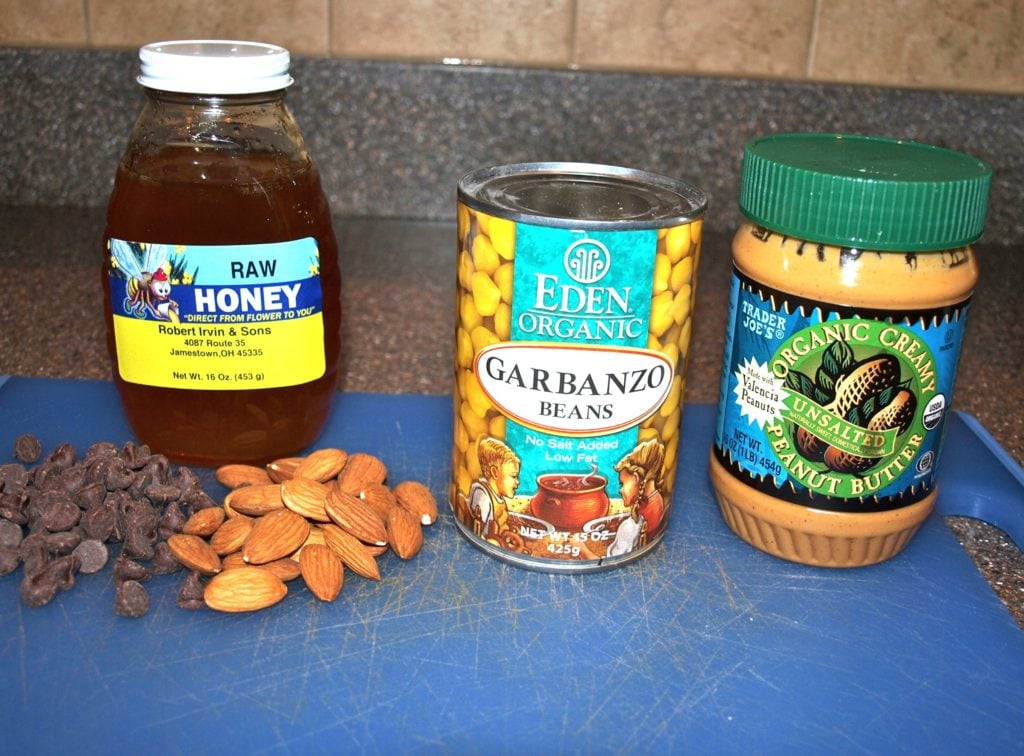
I like to cook my own beans when I can, but when I used canned beans I prefer Eden Organics. Eden Foods is one of the few companies that uses BPA-free cans, their beans have muuuuuuch less sodium than regular canned beans, and they use kombu seaweed, which helps with, ahem, digestion. I love this brand! (They didn’t ask me to say that; they don’t even know who I am.)
My Cuisinart Food Processor makes these SO easy to make! It’s my favorite kitchen appliance. I make these Peanut Butter Protein Balls with it as well!

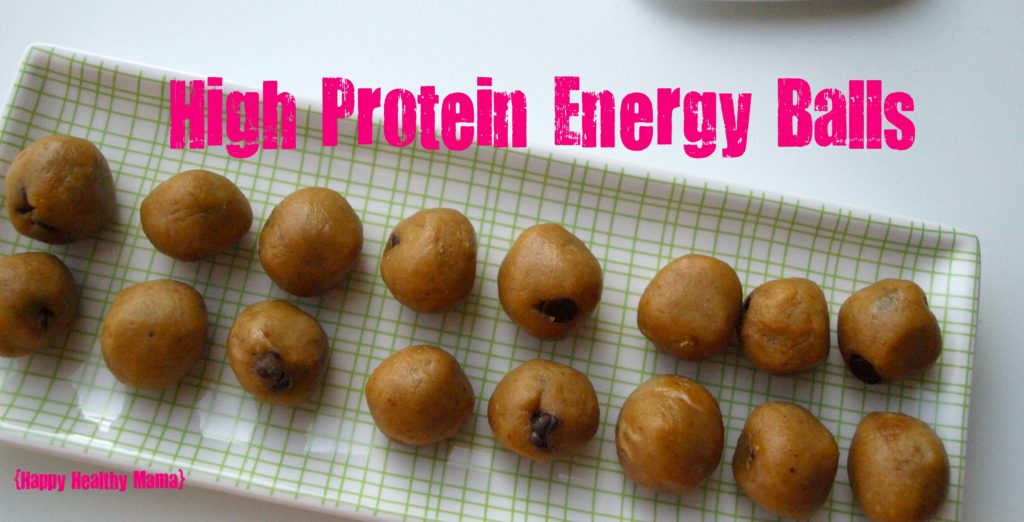
High Protein Energy Balls
- Total Time: 35 minutes
- Yield: 30 balls 1x
Description
These High-Protein Snack Balls are made with chickpeas and they are always a hit!
Ingredients
- 1/2 cup almonds
- 1 can chickpeas, rinsed and drained
- 3/4 cup natural peanut butter
- 1/4 cup honey
- 1/2 teaspoon vanilla
- 1/4-1/2 cup chocolate chips (optional)
Instructions
- Line a tray that will fit in your freezer with parchment paper. Set aside.
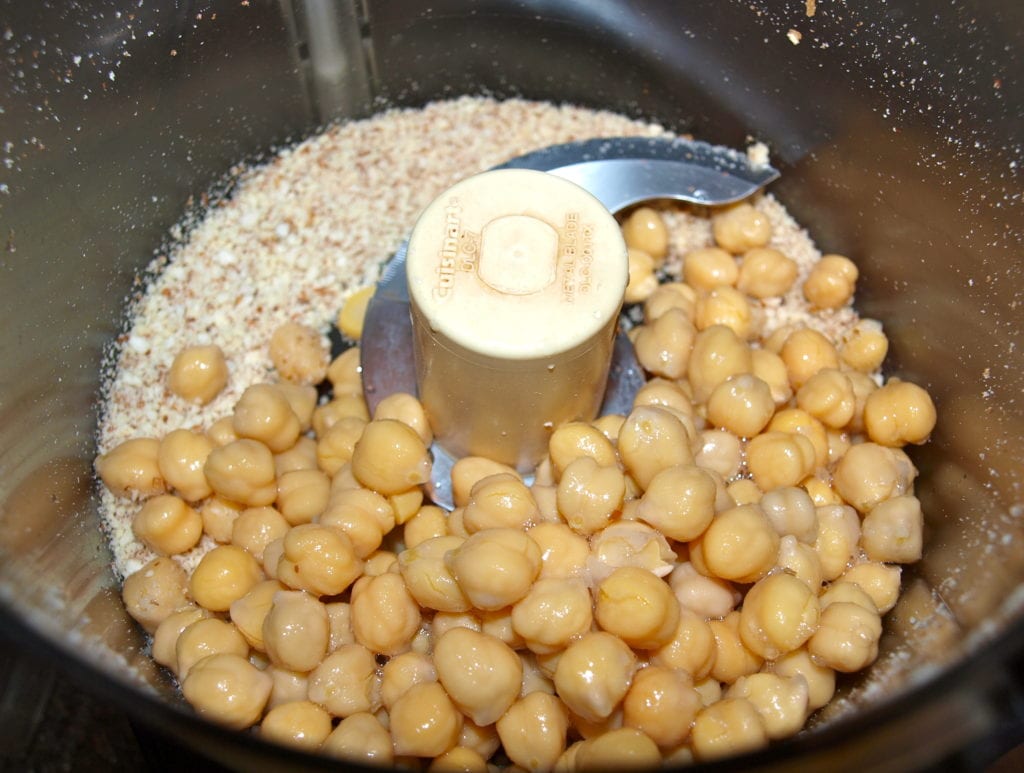
- In a food processor, process the almonds until they are a fine crumb.
- Add the chickpeas and process until they are fully broken down.
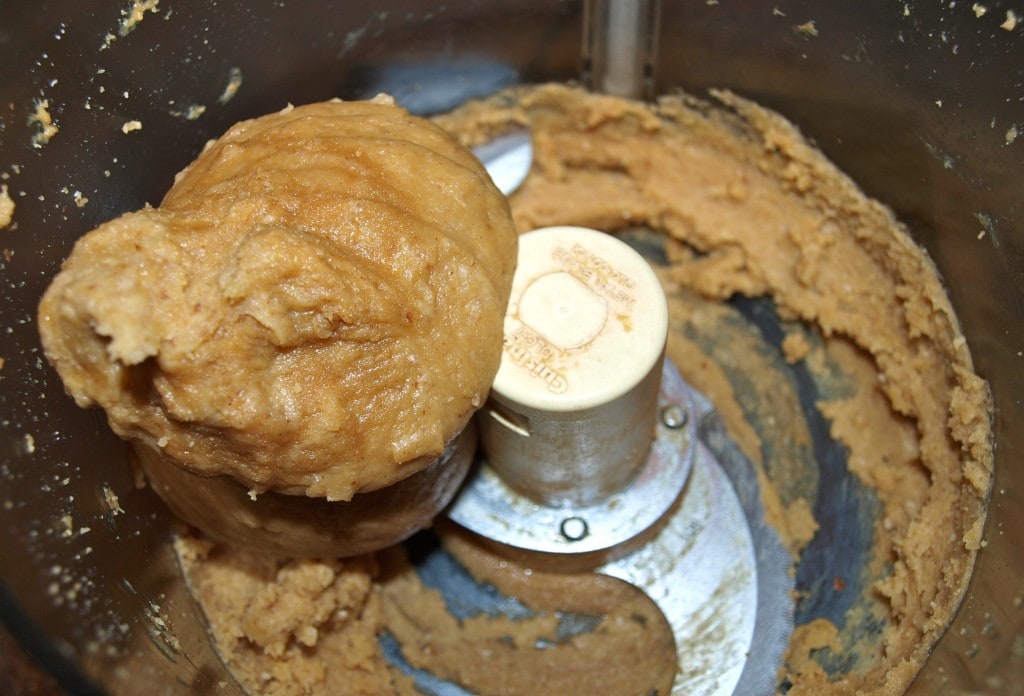
- Next, add the peanut butter, honey, and vanilla and process until you have a smooth mixture.
- Remove the blade from the processor and stir in the chocolate chips, if using.
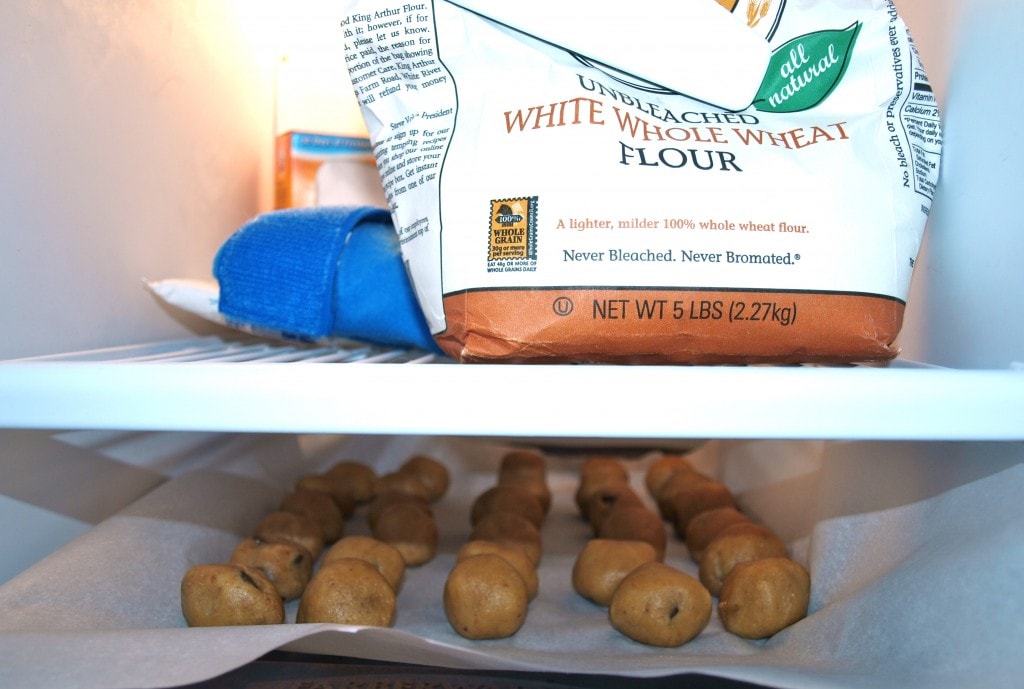
- Roll the mixture into small balls and place on your tray.
- Continue until you use all the mixture; you should have 30 balls.
- Freeze for at least 20 minutes before serving.
- Prep Time: 15 minutes
- Cook Time: 20 minutes
- Category: Snacks
- Cuisine: American
Nutrition
- Serving Size: 1 ball
- Calories: 92
- Sugar: 4.2g
- Sodium: 32.9mg
- Fat: 4.9g
- Carbohydrates: 11.9g
- Fiber: 2.1g
- Protein: 3g
You can store them in the freezer and just defrost them a bit before serving, or you can store them in the refrigerator.
Don’t let the chickpeas scare you. I’ve seen chickpeas being used all around the blogosphere as a base for everything from dessert hummus to cookies, and have had it in my mind to try a creation for while. You can’t taste the chickpeas at all and they add a nice protein punch.
I actually think the balls taste a lot like Buckeyes (chocolate-covered peanut butter balls for those of you who aren’t from the Midwest). I might try to use this as a base for a healthier version of the traditional treat around Christmas time.
Each ball is just 92 calories (78 if you don’t use the chocolate chips) and has 3 grams of protein. For a normal snack, you’d eat 2-3 balls, depending on your caloric needs, so you’ll get 6-9 grams of protein, a nice amount for a snack. You’ll also get about 2 grams of fiber per ball.
These balls are perfect for little hands; they make a wholesome toddler snack. Not that toddlers need more energy. 😉
You can store them in the freezer and just defrost them a bit before serving, or you can store them in the refrigerator.




Yuummm. Thanks for the recipe. Go Ephs!
Haha I love it!
Just tried these – but only made 1/2 the amount (I only have a miniature food processor)
Kids and I love them! Thanks for sharing ?
You’re welcome! These are a long-time favorite at our house!
I made these into cookies! I added 1 egg and a half teaspoon of baking soda and baked at 350 for about 10 minutes. They turned out really well and my 2 and a half year old loved them.
Awesome! Thanks for sharing. 🙂
Both of my kids (4 and 2 years old) loved these!
Awesome! Thanks for letting me know.
Found this on Pinterest and just made some. They’re freezing right now but I can tell by the batter they’re going to be amazing. I threw in a few dates too. Thank you so much.
You’re welcome! Thanks for letting me know. 🙂
Close enough to chocolate chip cookie dough to keep me happy! Easy and YUM!
Glad you liked these Stephanie!
To shoot anything that you want to look professional get a cardboard box in decent condition and masking tape all the seams inside. Paint it white. eggshell or more matte. If you don’t have time to paint it line it w sheets of white unlined paper. You can then place what ever you’re photographing inside and get decent results using your cell phone. (It’s called a light box and that’s my diy version) best of luck. I’ll be making your protein balls later today for my two year old ( ok he’s thirty two and not so “wee” but shares many characteristics with your wee one) xo
Hi Allie! Thankfully I’ve learned a lot since this post and my food photography has come a looooong way. 🙂 Thanks for the tips!
what is the nutritional facts
protein and cals per serving
I have a severe tree nut allergy, but peanuts are fine. Any suggestions on a replacement for the almonds that would give it a comparable texture? Thanks!
I think putting peanuts in place of the almonds would work.
Thank you, Maryea! I’ll give it a shot!
Do we know a carb count for these. Saw this months ago and was afraid to fix because of the chickpeas. OMG I have been missing out, would like a carb count though. ALSO, I added a scoop of chocolate pnut butter protein powder to it.
The carb count is 7.3 carbs per ball (this is including the chocolate chips).
Thanks!!
Wow! Im glad I came across this blog for a granola protein recipe. I am grateful to learn about Eden Organics line. Thank you. I am very big into BPA free things and I have now learned how to purchase canned items without BPA!!
Missy
You’re welcome!
These remind of traditional sweet Indian lentil balls that were snacks for us as kids. Our grandma would make them at home – try other types of lentils you get at Indian stores…and switch out some of the ingredients. But I’ll tell you – they were awesome!
http://www.sailusfood.com/2005/12/09/minappa-sunni-undalu-black-gram-lentil-sweet/
Interesting–thanks for sharing!
About to try this recipe this morning! Love the Williams t-shirt your daughter is wearing =) Go Ephs!
I hope you love them! My husband is from Williamstown. 🙂
Ah, I was wondering. The Williams tee was what caught my eye too. ’92 here.
🙂
Ha!! What a great way to disguise chickpeas for toddlers, in India we make a pancake type of dessert with chickpeas, this looks more yummy than that. Definitely going to try out this week. thanks for the recipe Maryea !! I chanced upon your website through pinterest and have been hooked to it for last 2 hours, such lovely and yummy recipes.
Both of my little ones absolutely adore these. I hope you enjoy them, too! I’m so glad you found me. 🙂
Thank you for sharing your time and inspiration. I started a new clean eating regime and I need a good snack that feels like a cheat (I’ve left out the choc chips… once I start with chocolate I can’t stop). My husband dislikes my “weird healthy” food items but I got him to try these as a “cookie dough ball” haha! Anyway, my 15 month old absolutely loves them too! Thanks again 🙂
You’re welcome! My husband can be hesitant at times, too, but he loves these. 🙂
This is not a “high” protein snack. 3 grams per ball… Get a grip on protein and what is “high”.
Everyone has their own ideas of what is high protein, I suppose. I believe that we need much less protein than most people seem to think, so for me these are a high protein snack that keep me full. I do not do protein powders or anything of the like, so having 3 grams of proteins in one little ball is a good source of protein for my family.
These were just added to my meal plan. Great idea for using natural lighting! I have the same problem in my house. Thanks for sharing!
I hope you guys love these! They have been a family favorite for years now!
How many carbs per ball? My daughter is type 1 diabetic. These sound like a great snack.
Thank you so much for answering all my queries. I know I bothered you with so many questions but you answered them all. Thanks a ton 🙂
No problem!
Thank you for replying. How much do they have to be cooked? Til they retain there shape or become mushy? Can they be pressure cooked instead? If yes then for what time? And what quantity of raw chickpeas to be used for the above recipe? As in how much raw chickpeas will yield what quantity of cooked ones?
They don’t need to be cooked until totally mushy, but soft. I am not familiar with pressure cooking, so I can’t answer about the times it would take, but I’m sure you would be able to find that information online if you google it. You’ll need about 1/2 cup dry chickpeas for the above recipe. If I’m going to the trouble to cook beans, though, I always cook a big batch and freeze the extra in 1 1/2 cup portions!
The recipe is absolutely brilliant. However I do wish to know the procedure for using raw chickpeas. Here we dont find canned chickpeas. So how to go about with the raw ones?
For raw ones, you’ll need to soak them first (I usually just soak them overnight in a covered pot with enough water to cover them by about 2 inches) and then cook them. After soaking, they should cook in about 1-1 1/2 hours of simmering. Once they are cooked, you can use them just like the canned kind. I hope you enjoy these!
Would blanched almonds/almond flour work in lieu of putting the whole almonds in the food processor? It seems like it would save a step with the same result but I don’t want to waste either one since almonds aren’t cheap.
Yes, another reader commented that she used almond meal/flour and it worked. I don’t keep almond meal on hand regularly, so I typically just use whole almonds and process them.