
These Healthy Peanut Butter Cups are easy to make with just 4 ingredients! Made without refined sugar, these make a healthy treat that will become a favorite recipe! Save This Recipe! Enter your email and I'll send it straight to your inbox. Plus you'll get new recipes from me every week! By submitting this form, you consent to receive emails from Happy Healthy Mama.
For years, Meghan and Tim went on an annual Father-Daughter camping trip. I use the term “camping” lightly, as they slept in a cabin that was equipped with a bathroom, electricity, and even had a TV.
It was an organized trip with a group through the Y with a goal of strengthening relationships between fathers and daughters. The first year they went, the mom who introduced the group to us warned me that it would be candy-filled weekend. All the girls come to camp loaded with snacks and candy.
You know I cringed thinking about sending Meghan with store-bought candy that is filled with preservatives, high fructose corn syrup, and unhealthy oils. I decided to make her some homemade treats that would lessen the toxic load, even if just a little.
Clearly, she was my oldest child. I wish I was still as optimistic about my abilities to shield the kids from all the ingredients in processed foods. I keep trying, but it only got more and more difficult as they got older!
No harm in trying, right?
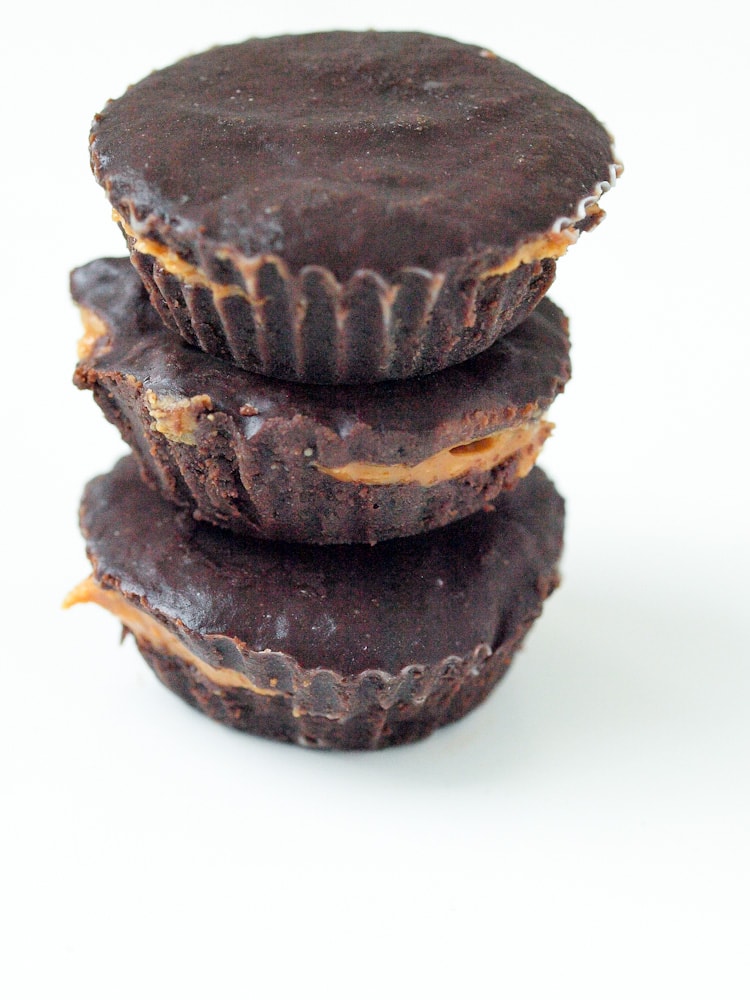
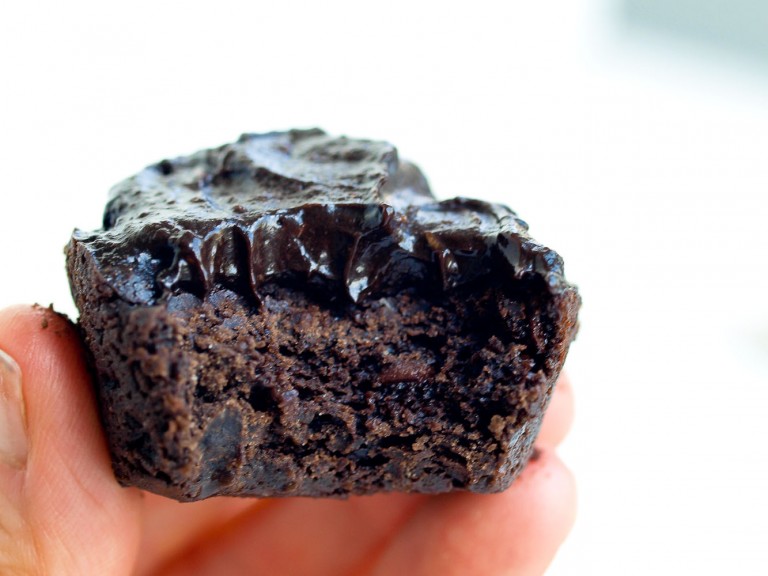
These homemade peanut butter cups might not be as perfect as reese’s cups when you open the package, but you get the winning combination of chocolate and peanut butter in a much healthier way. This homemade version has much less added sugar than a store-bought version and no additives.
You can trust me when I say looking perfect is not what matters to Meghan when it comes to chocolate. She and Luke keep begging me to make more of these. I really should have a stash in the freezer at all times. I guess that means I did something right in trying to shield them from the “real candy” and consistently offering choices with real food ingredients.
I had been making different versions of homemade chocolate peanut butter cups for years now, and I always tried to make a peanut butter filling to mimic the texture of the peanut butter inside the reese’s peanut butter cups.
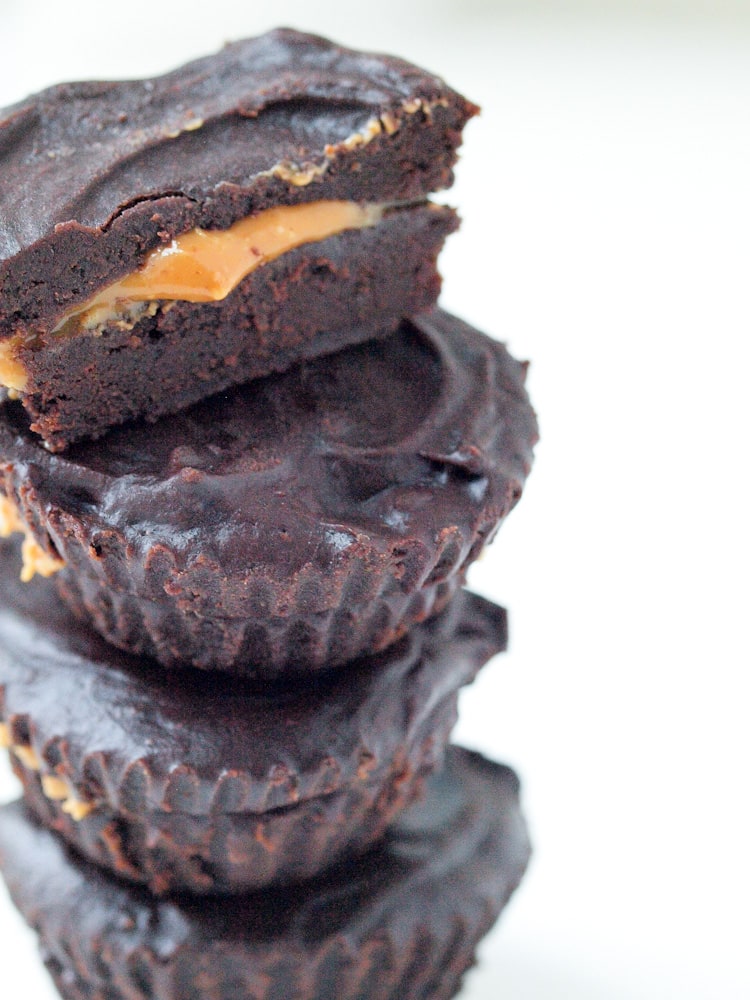
I finally tried it with just peanut butter and guess what? I love it with just pure peanut butter! You don’t need powdered sugar or anything else added to the peanut butter to make this healthier version of reese’s peanut butter cups.
Also, if aesthetics are important, don’t be lazy like me. Freeze each layer before you do the next layer. You can see the difference in the photos when I did and didn’t have time for that.
When I’m in a rush, I drop the chocolate into the paper cup, add the peanut butter, then add the final chocolate layer. My family doesn’t mind the little imperfections this causes and neither do I.
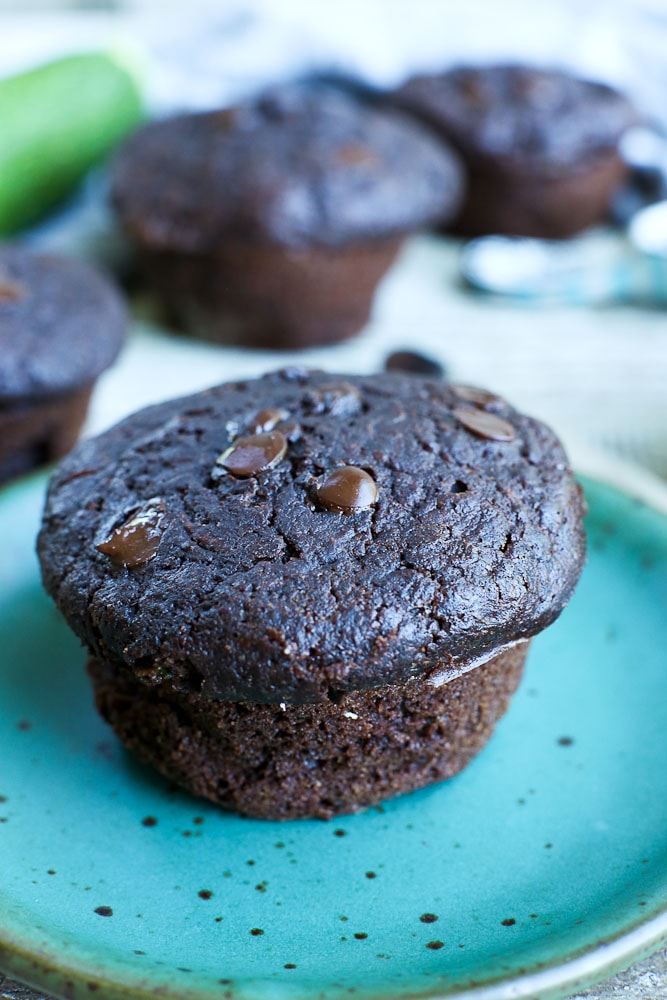
As you can see from the photos as well, I’ve made these in both mini muffin tins and regular-sized muffin tins. Both work well! Are you ready to make some homemade healthy peanut butter cups? Let’s go!
Recipe Ingredients–What You Need

What I love most about this recipe is that you only need a few simple ingredients you probably keep on hand or can easily find at the grocery store.
- 1/3 cup unsweetened cocoa powder
- 1/3 cup coconut oil, melted
- 1/3 cup pure maple syrup
- natural peanut butter*
*I just scoop straight from the jar–who likes measuring peanut butter?! For mini cups, I used about 3/4 teaspoon peanut butter per cup. You need more if you’re using regular sized muffin cups.
Ingredient Substitutions
- Instead of peanut butter, you can use almond butter, cashew butter, or sunflower seed butter if you need these to be nut-free.
- You can use honey in place of the maple syrup if you don’t need these to be vegan peanut butter cups.
- You can make these into dark chocolate peanut butter cups by using dark cocoa powder.
How to Make Healthy Peanut Butter Cups
- In a small blender, blend together the cocoa powder, coconut oil, and maple syrup until it is creamy. If you don’t have a small blender, then you can whisk the ingredients together by hand. Just make sure you use a deep, medium bowl so the cocoa powder doesn’t go everywhere and you whisk it very well.
- Put your paper liners in a mini muffin pan or regular muffin pan*
- Using a teaspoon, drop 1 teaspoon of the chocolate mixture into the cups*.
- You can lift and drop the muffin tin on the counter to help the chocolate lay flat.
- Next, use a teaspoon or a 3/4 teaspoon to drop 3/4 teaspoon peanut butter on top of the chocolate. Finally, add an additional teaspoon of chocolate on top of the peanut butter.
- Again, you can lift and drop the cookie sheet to help the top layer of chocolate lay flat. Or you can use your finger. 😉
- Place in the freezer for at least 20 minutes to allow the chocolate to harden.
- These need to be stored in the fridge or the freezer as they can start to melt when stored at room temperature.
*If you use a full-sized muffin tin, you will use more of the chocolate mixture and peanut butter for each cup, and you will get about 4 cups. If you use a mini-muffin tin, you’ll get about 9.
If you’re making these around Easter time, you should totally try these Healthy Peanut Butter Eggs! Homemade is always my preference. You, too?
I hope you and your family love these healthier peanut butter cups. They are a favorite candy over here!
You know I love healthy dessert recipes and am dreaming of ways I can make these Chocolate Peanut Butter Brownies a little healthier. They look delicious! If you love chocolate and peanut butter as much as we do, you should also try these Chocolate Peanut Butter Energy Balls, these Chocolate Peanut Butter Cereal Bars, these Chocolate Crunch Cookies, or these Peanut Butter Chocolate Chip Baked Oatmeal Muffins.
If you try these healthy homemade peanut butter cups or any of my other healthy recipes, please let me know! I’d love to see a photo–share it on Instagram and I’ll feature you. Please leave a comment and star rating below. It really helps other readers know which recipes are tried and true!
Healthy 4-Ingredient Chocolate Peanut Butter Cups
- Total Time: 30 mins
- Yield: 9 1x
Description
These healthy, homemade peanut butter cups are a great way to get your chocolate fix!
Ingredients
- 1/3 cup unsweetened cocoa powder
- 1/3 cup coconut oil, melted
- 1/3 cup maple syrup
- peanut butter*
Instructions
- In a small blender, blend together the cocoa powder, coconut oil, and maple syrup until it is creamy. If you don’t have a small blender, then you can whisk the ingredients together by hand. Just make sure you use a deep bowl so the cocoa powder doesn’t go everywhere and you whisk it very well.
- Put your paper liners on a cookie sheet.
- Using a teaspoon, drop 1 teaspoon of the chocolate mixture into the cups.
- You can lift and drop the muffin tin on the counter to help the chocolate lay flat.
- Next, use a teaspoon or a 3/4 teaspoon to drop 3/4 teaspoon peanut butter on top of the chocolate. Finally, add an additional teaspoon of chocolate on top of the peanut butter.*
- Again, you can lift and drop the cookie sheet to help the chocolate lay flat. Or you can use your finger. 😉
- Place in the freezer for at least 20 minutes to allow the chocolate to harder.
- These need to be stored in the fridge or the freezer. Enjoy!
Notes
*I just scoop straight from the jar–who likes measuring peanut butter?! For mini cups, I used about 3/4 teaspoon peanut butter per cup. You need more if you’re using regular sized muffin cups.
** If you use a full-sized muffin tin, you will use more of the chocolate mixture and peanut butter for each cup, and you will get about 4 cups. If you use a mini-muffin tin, you’ll get about 9.
- Prep Time: 10 mins
- Cook Time: 20 mins
- Category: Desserts
Nutrition
- Serving Size: 1 mini cup
- Calories: 134
- Sugar: 7.5 grams
- Fat: 10.5 grams
- Saturated Fat: 7.3 grams
- Carbohydrates: 10.6 grams
- Fiber: 1.2 grams
- Protein: 1.5 grams
I originally posted this recipe in 2014, republished it in 2016 with updated photos. Most the the text is from the original post with more updates in 2022.

Yet to be made, any hint as to how long these may last in the freezer? Also can liquid coconut oil be used or is it best to use solid coconut oil?
They will last 3-4 months in the freezer. Regular solid coconut oil is best.
The cake is delicious with the chocolate taste and the sweetness of the spices mixed
Mmm, it looks delicious.
Great recipe, thanks! 😉
I have a question though: when I mixed the coconut oil with cocoa powder and agave and put 1 tsp on each cup, the remaining mixture separated while I waited for the chocolate to harden in the freezer before adding the PB layer. It seemed that the agave sank in the bottom of the bowl and the chocolate became grainy. I wonder if you have any advice about what to do to avoid this (it has happened before whenever I mix cocoa powder with coconut oil and sweetener). It didn’t affect the taste though, it’s still delicious, but I’d love to be able to make smooth chocolate coating!
Thanks!
Can you use other oiol
Yes.
Made these last night to add to my Christmas plate! They are beautiful. I doubled it and used 1/2 cacao and 1/2 dark cocoa, and experimented with almond and cashew butter. The cashew butter was the bottom of the jar, and the almond was a brand new jar: I like the more solid consistency of using the almost-empty jar, but both are good.
I also enjoy the coconut taste, but may consider using refined coconut oil next time for those who want a more pure pb-cup taste.
Thanks for a fantastic recipe!! I continue to love your blog 🙂
I’m so so happy to hear this, Amanda! 🙂
So delicious! I just have a quick question. Is the nutrition information you provide per serving based on 9 servings or 4 servings? I see you mention both sizes, so just looking to clarify. I’m trying to convince myself that these have equal calories to one Reese’s peanut butter cup because it’s so good! 😊
I keep making this recipe over and over again because it’s so good. I do freeze each for a flawless looking cup. I use dark cocoa powder when I make these for my husband and I use carob powder when i make these for myself.
My daughter-law is coming for her first visit and she loves chocolate, however she is gluten,dairy and nightshade vegetables intolerant. I made these today and they are Amazing! Now I just have to not eat all of them before she arrives next week.
So happy to hear this Barb!
Waaaaayyyy too sweet 😖!!! I’d cut the maple syrup in half at least.
I made these and they are a nice substitute for the sweet cravings I get but, I’m curious to know the calorie count. Any idea?