When you go to a restaurant, something magical happens to veggie burgers. They stick together. Their texture mimics that of meat. They taste delicious. I’ve often wondered, how do they do that? I have attempted, you see, many, many a veggie burger at home. Normally I end up with a mushy, fally-aparty mess. But I’m a determined girl, and giving up easily is not in my repertoire. These beet burgers may be my crowing culinary achievement to date. Each time I’ve made a veggie burger at home, I’ve taken note of what seemed to go wrong. When I order a veggie burger at a restaurant, I study it. Finally, I’ve been able to make a veggie burger at home that matches the ones I get in restaurants. The texture is great and the flavor is spot on.
The star ingredient is the beet (hence the name Beet Burgers). It just so happens that the unassuming beet is an amazing food, filled with antioxidants (how else would it get that amazing color?) and a good source of folate, magnesium, and potassium. They also have vitamin C, iron, copper and phosphorus. I have to admit, before attempting to make beet burgers, I had never even cooked with a beet. I’ve been really making an effort to branch out and try foods I’ve never tried before or that I’ve personally never prepared. I even made roasted brussels sprouts last week! And Tim ate a huge portion! See? Branching out can be good.
I have made these with golden beets as well as red beets and it doesn’t make a difference, so go ahead and use whatever type of beet you can find. I did a few of my prep steps ahead of time to make dinner time go more smoothly. During Meghan’s nap I cooked the brown rice, diced the beet, chopped the onion, prepared the prunes and got the rest of my ingredients ready. A little prep work ahead of time goes a long way. The ingredient list looks long, but don’t let it scare you away from making these. They aren’t that hard, really!

You Won’t Miss the Meat Beet Burgers
- Total Time: 70 minutes
- Yield: 8 burgers 1x
Description
A super tasty meat free burger
Ingredients
- 1-2 tablespoon olive or coconut oil
- 1 medium yellow onion
- 3 cloves garlic, minced
- 3 beets, small-medium diced
- 2 cups cooked brown rice
- 1/2 cup rolled oats
- 2 eggs, lightly beaten
- 1/2 cup chopped prunes
- 1 (15 ounce) can black beans, drained, rinsed, and mashed
- 2 teaspoons coriander
- 1 teaspoon thyme
- 1 teaspoon sea salt
- 1/4 teaspoon cinnamon
- 1/8 teaspoon freshly ground black pepper
- 1 tablespoon mellow white miso
- oil for frying
Instructions
- In a large skillet pan, heat 1-2 tablespoons oil over medium heat. Add the onion and cook until soft and lightly brown 5-8 minutes. Add the garlic and allow to cook for a minute. Add the diced beets and cook until soft, about 30 minutes.
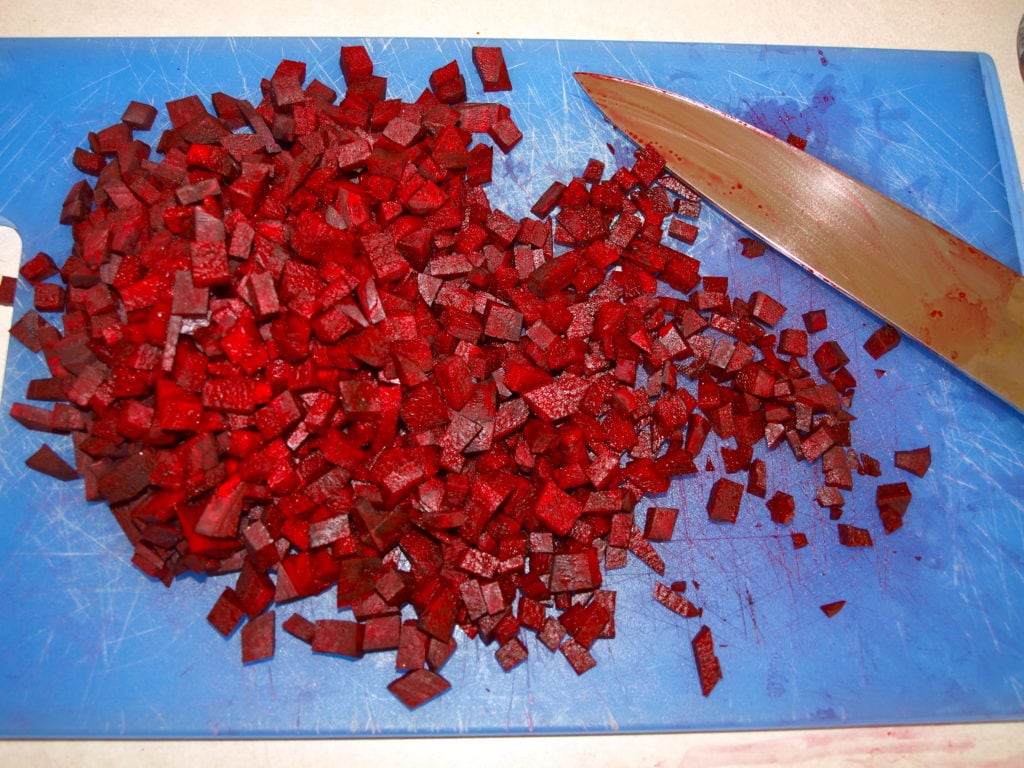
- A word about the diced beets. You want to dice them so they are not too small. Do not use your food processor for this. That is where I’ve made mistakes in the past. Overly diced/chopped veggies=a mushy burger.

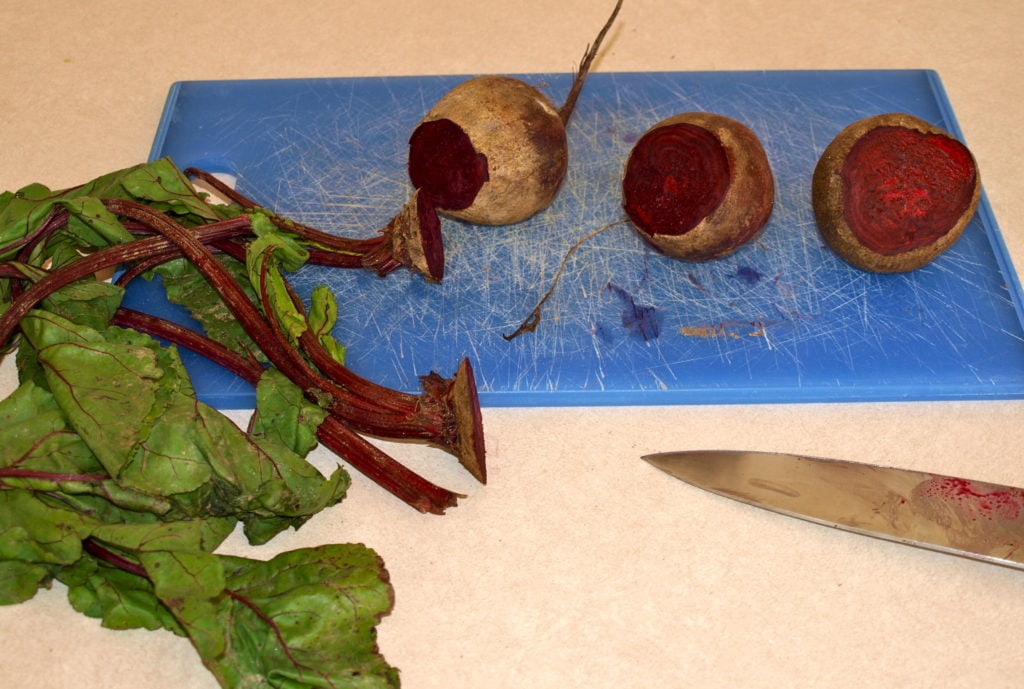
- Start by cutting off the top and bottom of your beets. Save the greens for another use (you can use they just like you would chard. In fact, use them in this recipe in place of the rainbow chard). Then peel the beets and start dicing. They should look like this when you are finished.

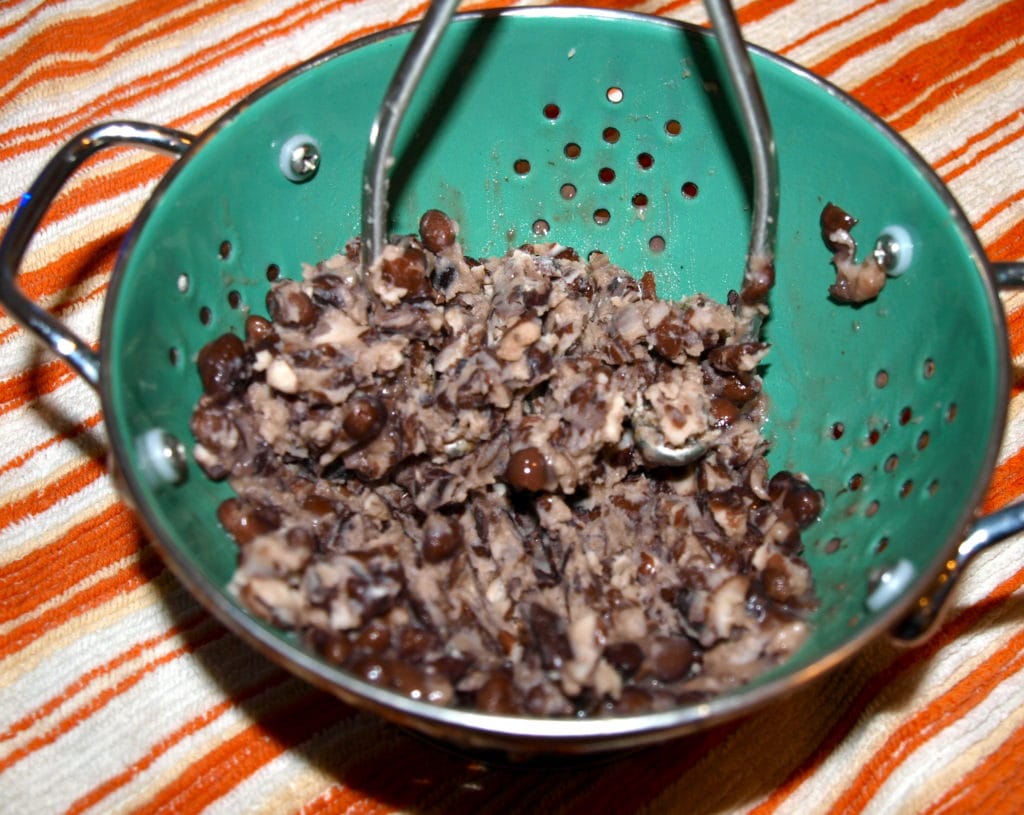
- Your non-knife hand will be stained a lovely red color. Evidence of your hard work in the kitchen! While the beets were cooking, I prepared the beans.

- I mashed them with a potato masher right in the colander that I used to drain them.
- Once your beets are tender (after cooking for about 30 minutes), turn off the heat and allow them to cool a bit. In a large bowl, mix together the beet mixture, rice, oatmeal, beans, prunes, and miso. Mix well and then stir in the spices. Add the lightly beaten eggs and stir until everything is well incorporated.
- Allow the mixture to rest for about 15 minutes. {You can also prepare to this point and refrigerate for a few hours or even a day or two before proceeding}
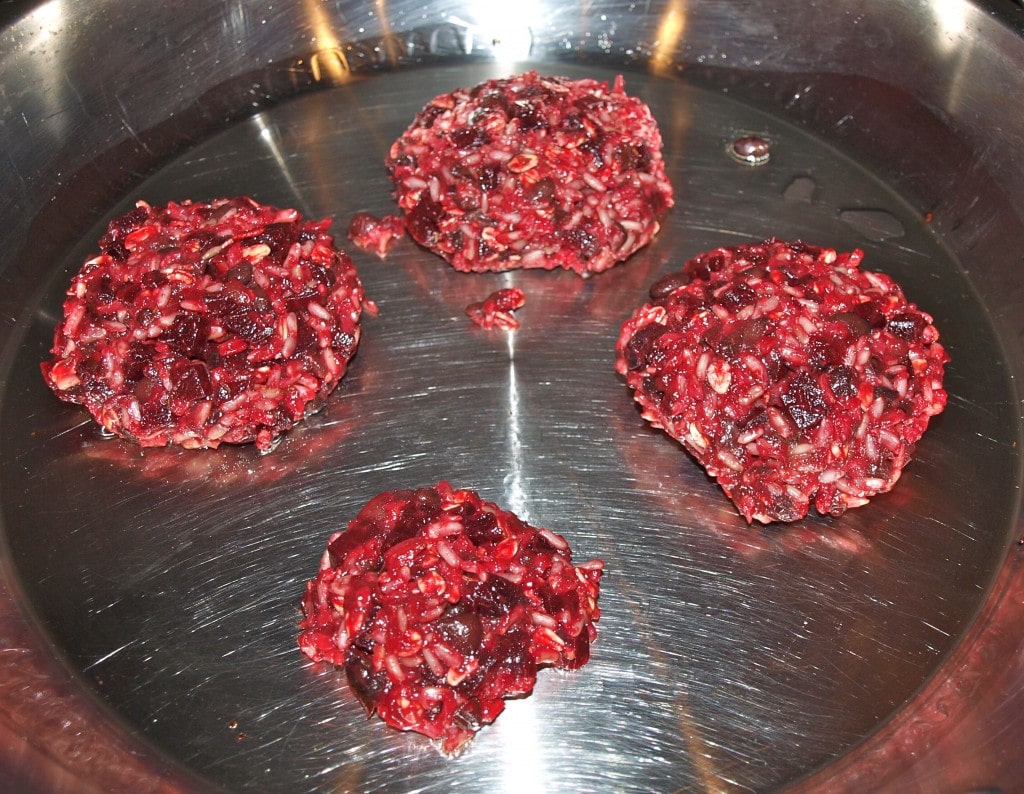
- While the mixture is resting, get your pan hot and heat a decent amount of oil. It needs to be nice and hot before you start, so make sure you give it ample time to heat up. This is another factor I’ve found to be key in homemade veggie burgers: you need a hot pan! Once your pan is hot, use your hands to form a thick patty. Transfer it back and forth from your hands until it is well-formed. Place the patty on your pan. If it doesn’t sizzle, your pan isn’t hot enough; wait before you add any more patties. Continue with the rest of your patties. Although the mixture makes 8 patties, I just made two for Tim, one for me, and a mini one for Meghan.

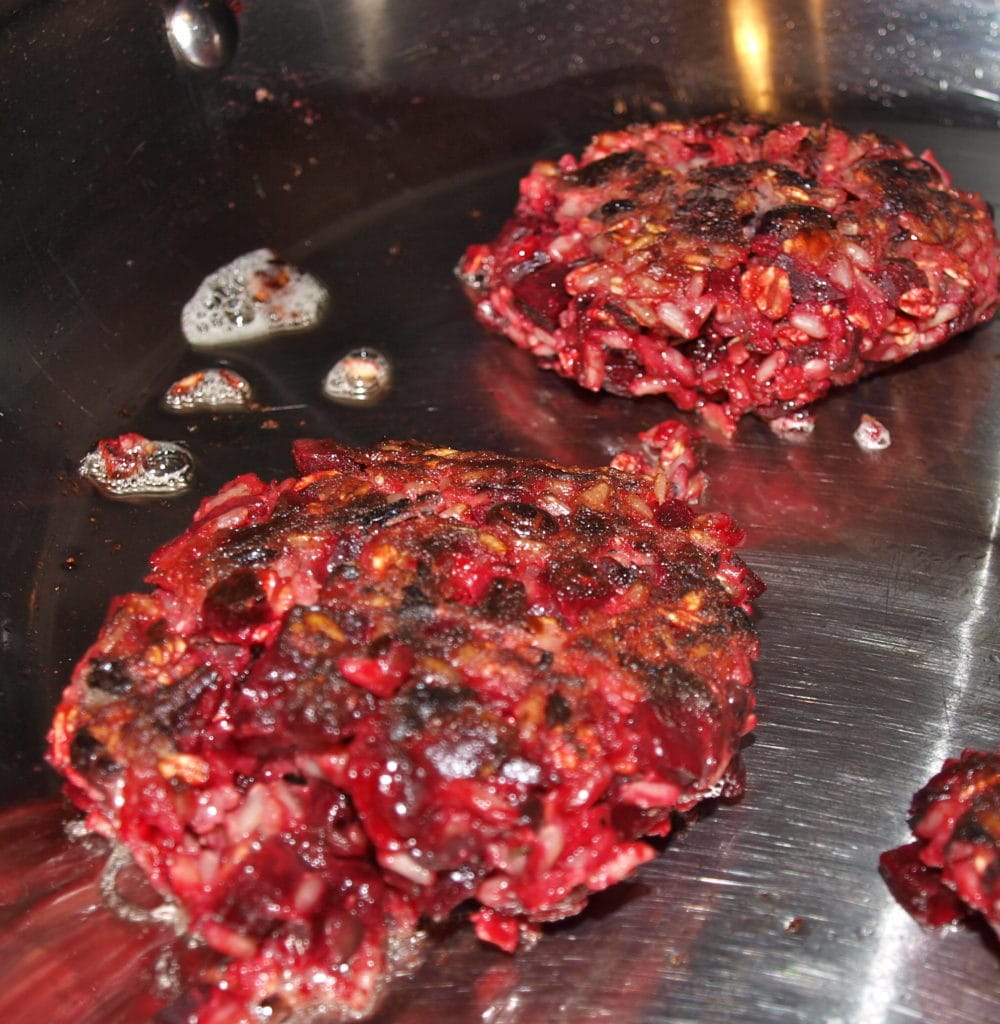
- Allow to cook about 4-6 minutes. You want it to get a nice sear before flipping. Using a spatula, carefully flip the patties. Use your hand to guide the patty. If it falls apart at all, just use your spatula to form it back together.

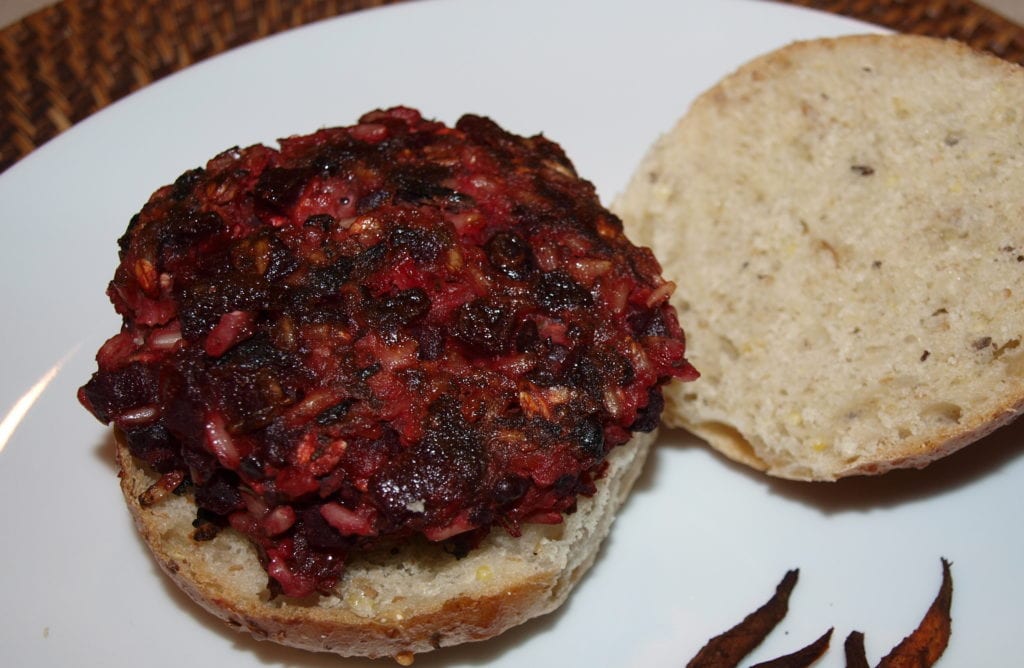
- See the nice sear on the outside of the burgers? That’s what your shooting for. After flipping, allow to cook another 4-6 minutes. If you would like, add a slice of cheese to each patty for the last few minutes of cooking time. Serve on whole grain buns.
- Prep Time: 15 minutes
- Cook Time: 55 minutes
- Category: main meal
- Cuisine: American
Nutrition
- Serving Size: 1 burger
- Calories: 219
- Sugar: 7.3g
- Sodium: 412mg
- Fat: 4.6g
- Carbohydrates: 37.5g
- Protein: 8.1g
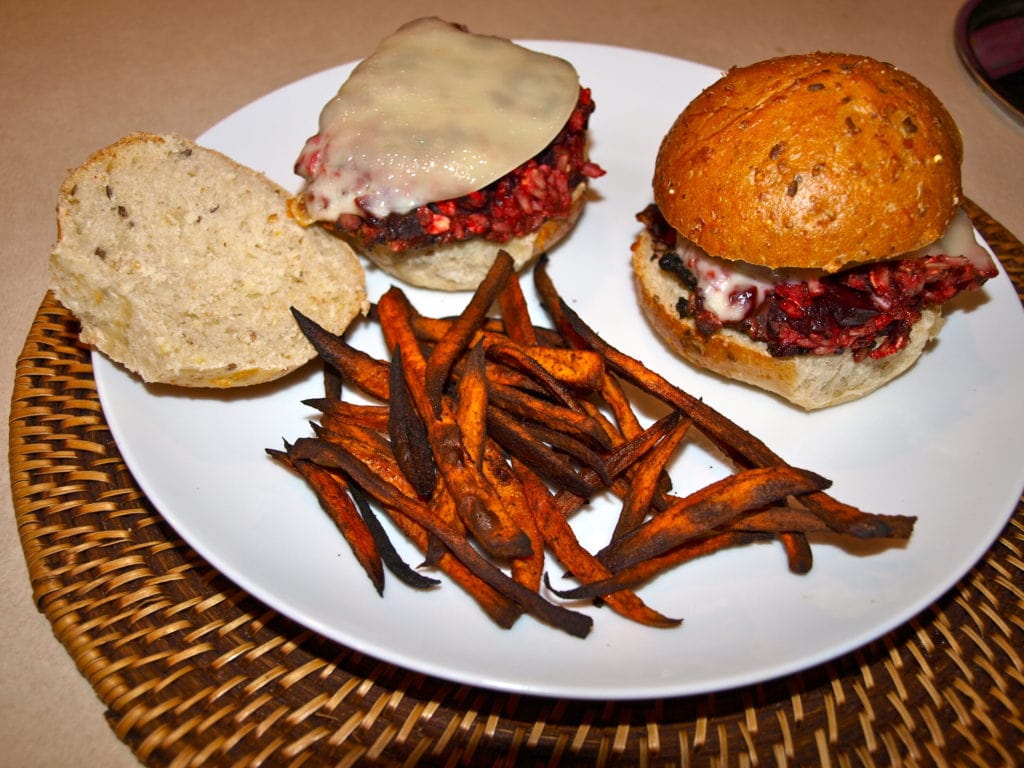
Tim had his two with sliced provolone. Yes, the sweet potato fries are slightly burnt. Oops. Tim normally hates veggie burgers, but he likes these.
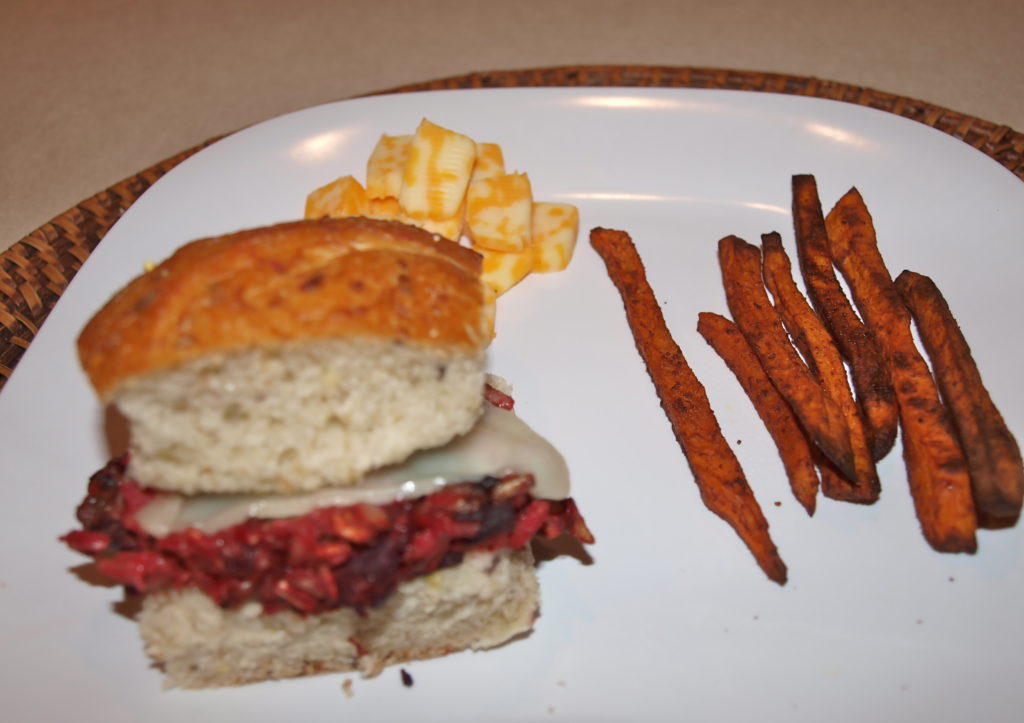
For Meghan, I cut away the outside edges of the bun to make a mini-burger.
Looking back, I should have just used regular bread and maybe a thinner burger, as this was just too thick for her. I squished it down for her and she did have a few bites, but I think it was too overwhelming. I tried then to have her eat it deconstructed, but she’d had enough at that point. She ate all of and had seconds on her sweet potato fries and cheese and then had unsweetened apple sauce with cinnamon for dessert. I think these beet burgers will definitely be something she’ll like when I offer it to her again, I’ll just present it in a different way.
One thing I love about this recipe is that it makes enough for two meals. I have no problem having the same meal two nights in a row, especially when the second night I don’t have to do much work in the kitchen! It gives me a free night, which is great once in a while. I haven’t tried freezing this mixture, but I may try it in the future as I think it would be wonderful to have some on hand whenever I get a craving for a good veggie burger, which is a lot.


This is awesome! Even my meat and potatoes eating husband liked them. (I am slowly easing him into eating less meat and my plan is working with great recipes like this!) I changed the recipe up a little bit because I have some gluten issues and I do not eat fried anything and I do not eat animal products. I cannot say I am vegan because my “no animal products” policy has nothing to do with animals. It is purely due to me wanting a plant based diet for my health. I used pickled beets (instead of fresh, because that is what I had onhand) and gluten free cornbread mix (instead of oats) and I did not use the egg. I added a small can of diced tomatoes with chilies. I did not fry them. I baked them at 350 for 8 minutes, flipped them, baked another 8 minutes and then quickly browned them on both sides under the broiler. I did not cook the onions ahead of time. Oh, and I didn’t have any prunes. I was going to substitute medjool dates but I forgot. This recipe made 8 burgers. I froze them. Anyway, if you are in the mood to cook up some really tasty veggie burgers that die hard carnivores will eat give this recipe a try.
I love your adaptations! I’m glad you enjoyed the burgers. These are one of my all-time favorite recipes. 🙂
Maryea, We totally loved these. I happened to already have all of the ingredients on hand and I was already wondering what to do with my beets. You answered the question. Thanks for a great veggie burger recipe! I’m going to have these for lunch for the rest of the weekend. Thanks again!
I’m so glad you like them! This is one of my new favorite recipes and will be making it a lot this winter.